


How to optimize Windows 11
With Windows 10 support ending this year, I decided to upgrade to Windows 11 despite its many privacy concerns and somewhat clunky UI. In this post I will go over the tweaks I made to make this OS acceptable for me.
Introduction
Since I started using Linux professionally, it has become my main OS, where I spend 95% of my time, and I only ever use Windows for gaming.
There are a few things however that I cannot accept in any OS regardless of screen time:
- Leaking my personal data on the internet all willy nilly
- Spamming me with ads in an OS that I paid for
- Not having a classic task bar that clearly shows what open windows I have
Windows 11 is guilty of all three, so we will have to do something about that.
Gaming on Linux
Before we go any further, let’s first answer the question why I do not switch to Linux completely.
I’m aware that gaming on Linux has gained a lot of traction, especially with the advent of SteamOS. Many games now run just as well on Linux as they do on Windows. Big thanks to Valve for driving this progress with their Steam Deck, which runs on SteamOS.
For now, I’m sticking with Windows. With limited time, upgrading from Windows 10 to 11 was far easier than figuring out how to get all my games running on Linux. So, Windows 11 it is—for the time being.
Let’s continue with Windows 11:
Step 1: Upgrading from Windows 10
This one was easy, as Microsoft also injected quite some spam into Windows 10 in order to pursuade people to switch to Windows 11. Just go to Windows Update and click the “I want to upgrade to Windows 11” button.

Also, it’s free — which further confirms that if you’re not paying for it with your money, you’re paying for it with your data.
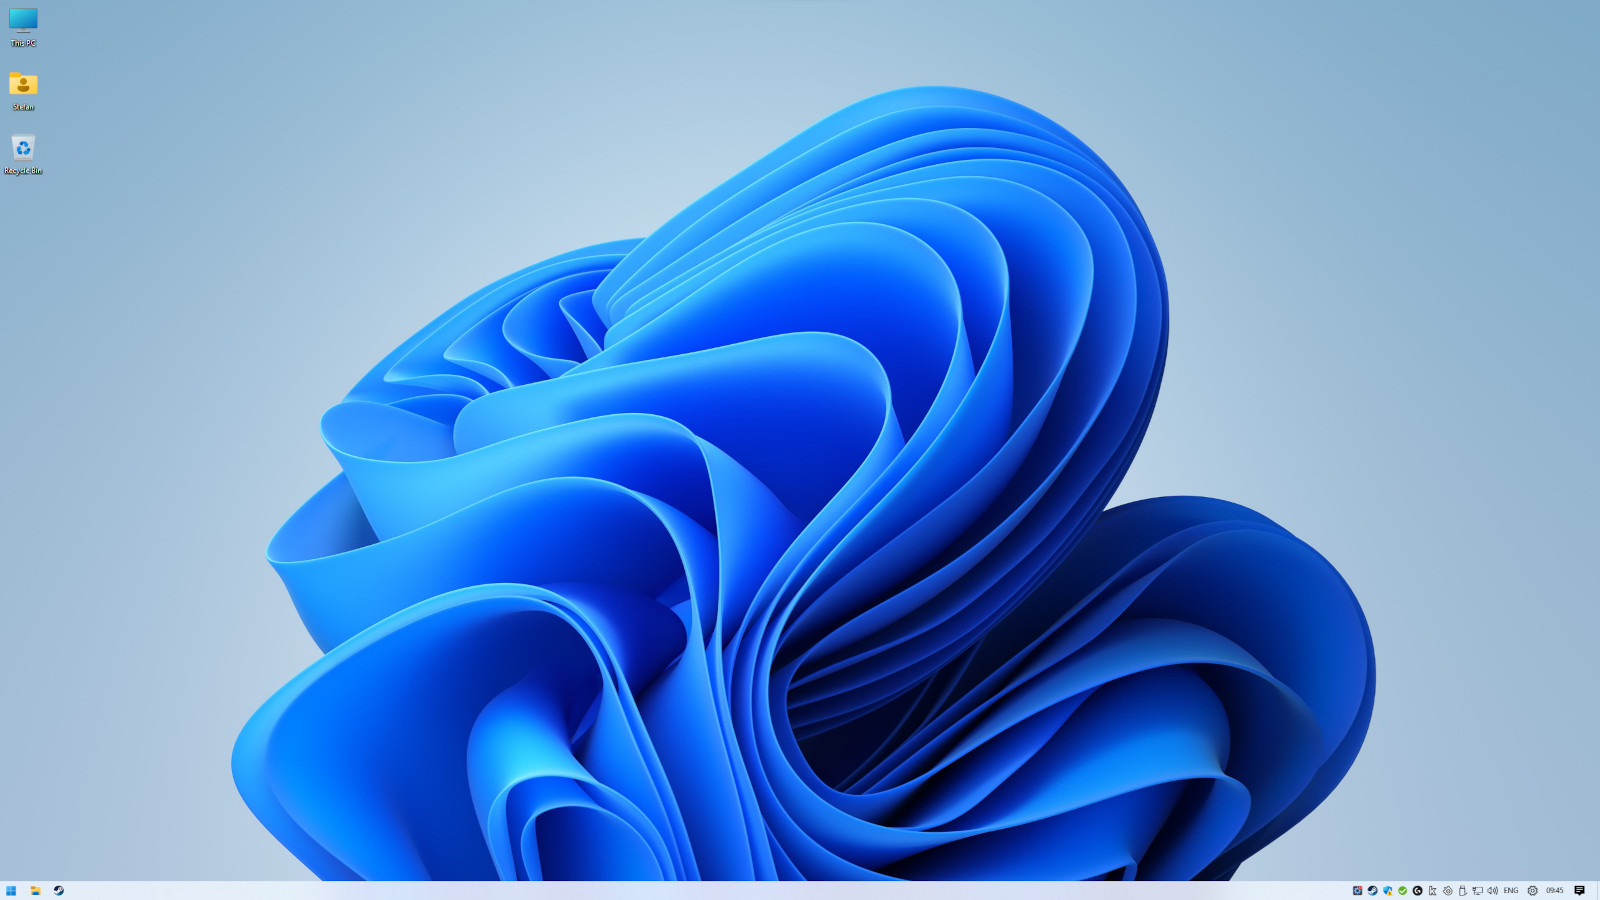
Anyway, after a few reboots Windows 11 greeted me with a new shiny login screen.
Step 2: Debloating Windows 11
Windows 11 is filled to the brim with advertisements, popups, Bing apps, and AI stuff that 99% of humanity could do without.
A lot of people feel the same way, so this project helps to get rid of it all. Running the debloater is quite easy:
- Open PowerShell or Terminal, preferably as an administrator.
- Copy and paste the command below into PowerShell:
& ([scriptblock]::Create((irm "https://debloat.raphi.re/"))) - Select option 1 and let it run
- Reboot your system
After this, most of the spam should be gone. At least I was not able to find anything anymore with a quick look.
Step 3: Getting a functional taskbar
Windows 11 comes with a humongous taskbar that is nearly twice as the size of the classic taskbar we all know and love from many Windows versions like 95, 98, 2000, 7 and 10.
In Windows 11, users could still shrink the oversized taskbar with a simple registry tweak — until Microsoft quietly pulled the plug on that. In a classic bait-and-switch, the tweak no longer works, and users are now stuck with a bloated taskbar hogging screen space while offering absolutely no additional value.
Luckily a tool exists to fix this too, ExplorerPatcher to the rescue!
So, to fix our taskbar and make it functional again, these are the steps:
- Install ExplorerPatcher from the link above
- Run ExplorerPatcher, and select the Taskbar section
- Set the taskbar style to ‘Windows 10 (ExplorerPatcher)
- Set the search to hidden
- Set the start button style to Windows 11
- Set the combining of task bar icons to ‘Never combine’
- Click ‘Restart File Explorer’ in the bottom right
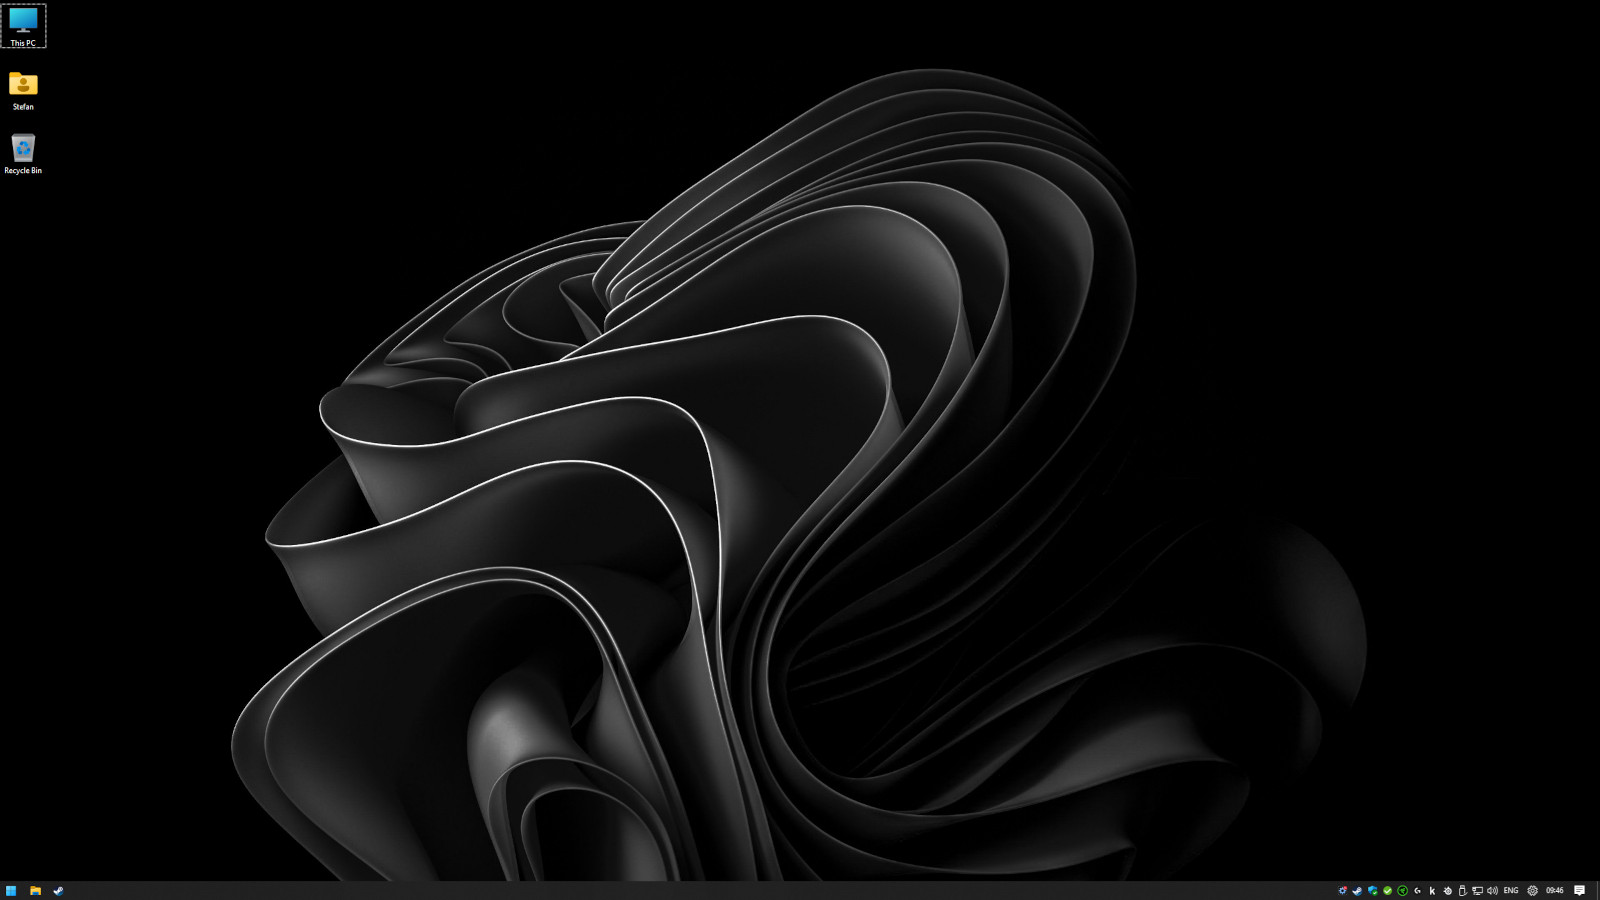
You should now have a classic functional taskbar back:
Final step: Dark mode
I usually play games in the evening or at night when it’s dark, so I prefer using dark mode on Windows to avoid straining my eyes. So, I set Windows to dark mode only and grabbed this wallpaper. The final result looks like this:
Optimized
There you have it folks, my windows 11 is now fully O P T I M I Z E D. I hope this helps you to optimize yours too!